Emporix Orchestration Engine
Modified on Fri, 14 Jun, 2024 at 9:56 AM
With Emporix Orchestration Engine modules in Make, you can start new orchestrations in your Emporix OE account.
To use the Emporix Orchestration Engine modules, you must have an Emporix OE account. To learn how to request for such an account, see Provisioning OE.
Refer to the Emporix API documentation for a list of available endpoints.
To establish the connection, you must:
To obtain your Source ID and Secret from your Emporix account:
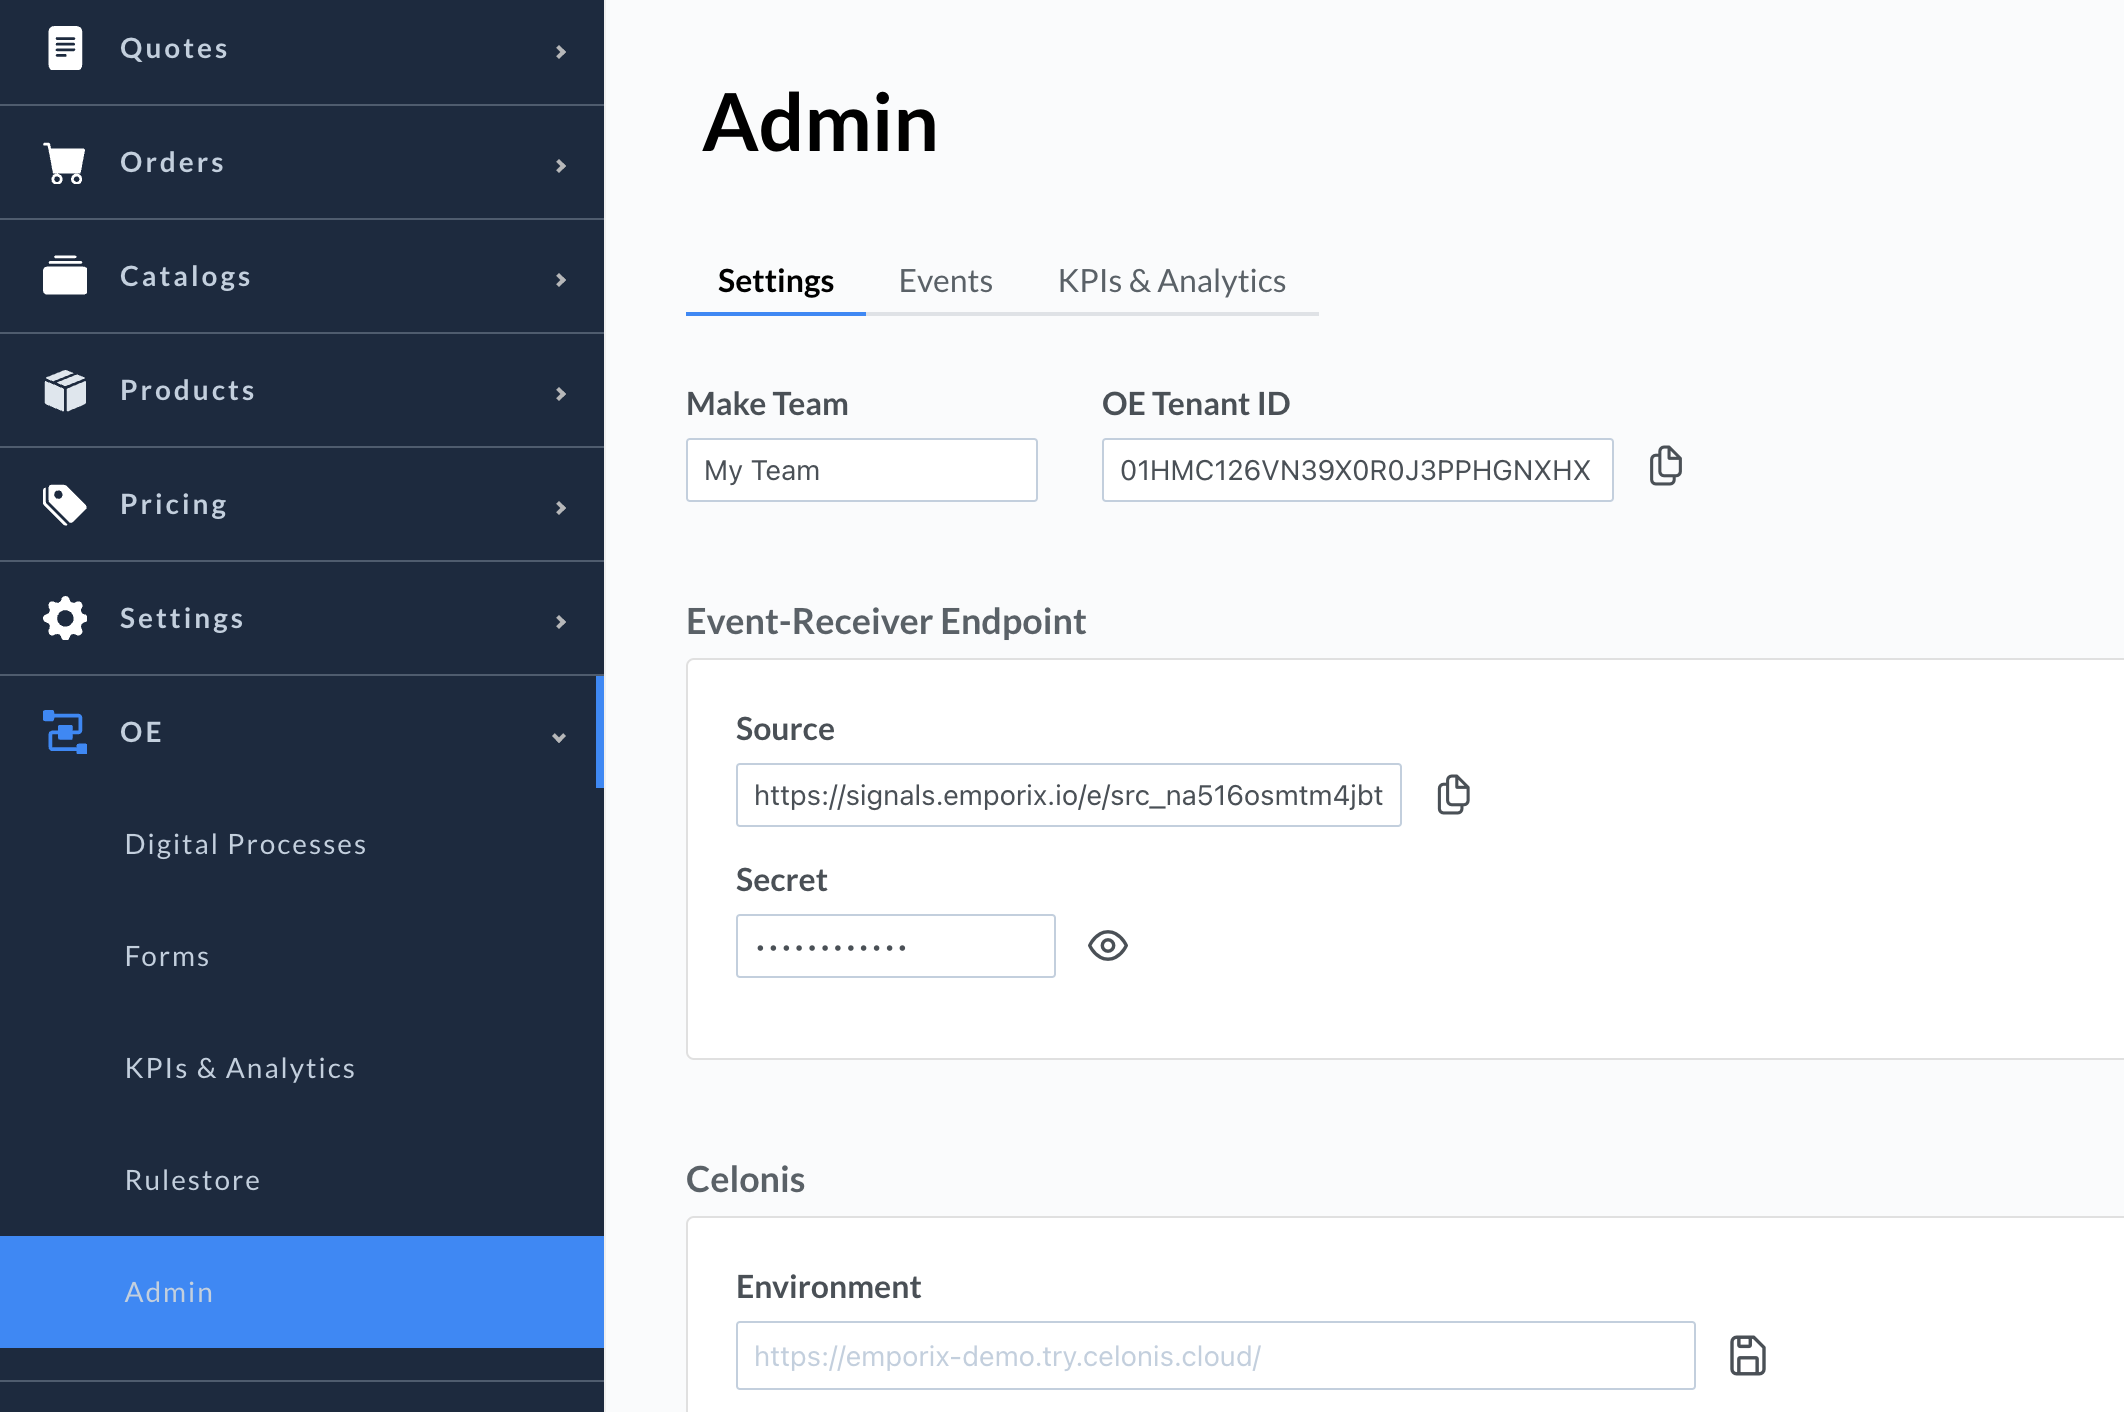
Log in to your Emporix OE dashboard.
In the left sidebar, click OE > Admin.
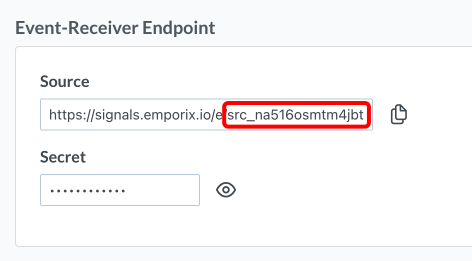
In the Source field copy the suffix with format
src_abcdeMNiwCsZand store it in a safe place.Copy the Secret value shown and store it in a safe place.
You will use these values in the Event-Receiver Source ID and Event-Receiver Secret fields in Make.
To obtain your client credentials from your Emporix account:
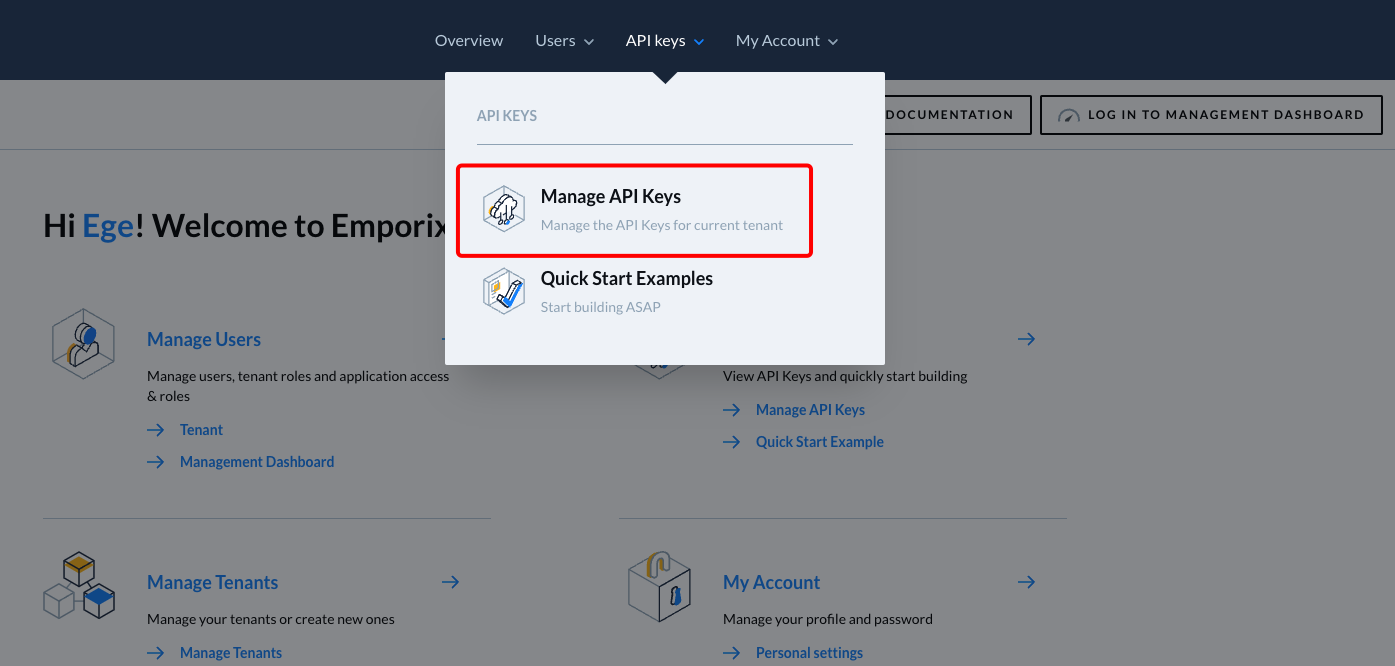
In the Emporix dashboard, go to API keys > Manage API Keys.
In the Emporix API row, copy the Client ID and Secret values shown and store them in a safe place.
You will use these values in the Orchestration API Client ID and Orchestration API Client Secret fields in Make.
Log in to your Make account, add a Emporix Orchestration Engine module to your scenario, and click Create a connection.
Optional: In the Connection name field, enter a name for the connection.
In the Event-Receiver Source ID and Event-Receiver Secret fields, enter the source ID and secret copied above.
In the Environment field, select whether you want to connect to Production (api.emporix.io), Stage (api-stage.emporix.io) or Dev environment (api-dev.emporix.io).
In the Orchestration API Client ID and Orchestration API Client Secret fields, enter the client credentials copied above.
Click Save.
If prompted, authenticate your account and confirm access.
You have successfully established the connection. You can now edit your scenario and add more Emporix Orchestration Engine modules. If your connection requires reauthorization at any point, follow the connection renewal steps here.
After connecting the app, you can perform the following actions:
Start a New Orchestration
Was this article helpful?
That’s Great!
Thank you for your feedback
Sorry! We couldn't be helpful
Thank you for your feedback
Feedback sent
We appreciate your effort and will try to fix the article


